 Skip to content
 How to Change and Customise your Dashboard Themes
Your dashboard is more than just a workspace—it’s a reflection of your brand and style. With the ability to customise themes, you can transform your dashboard into a visually appealing, personalised hub. Whether you prefer a clean, minimal design or vibrant, dynamic visuals, this feature empowers you to make your dashboard truly yours. Tailoring its appearance not only enhances its aesthetics but also improves your overall user experience by aligning with your branding or preferences.
Key Features and Benefits
- Predefined and Customisable Themes: Choose from a variety of ready-made themes or design your own to suit your unique needs.
- Brand Alignment: Match the dashboard’s look and feel to your business branding, creating a cohesive visual identity.
- Widget-Specific Themes: Customise individual widgets for added flair and functionality.
- Enhanced Usability: Personalised dashboards improve focus and productivity by providing a visually engaging environment.
How to Customise Your Dashboard with Themes
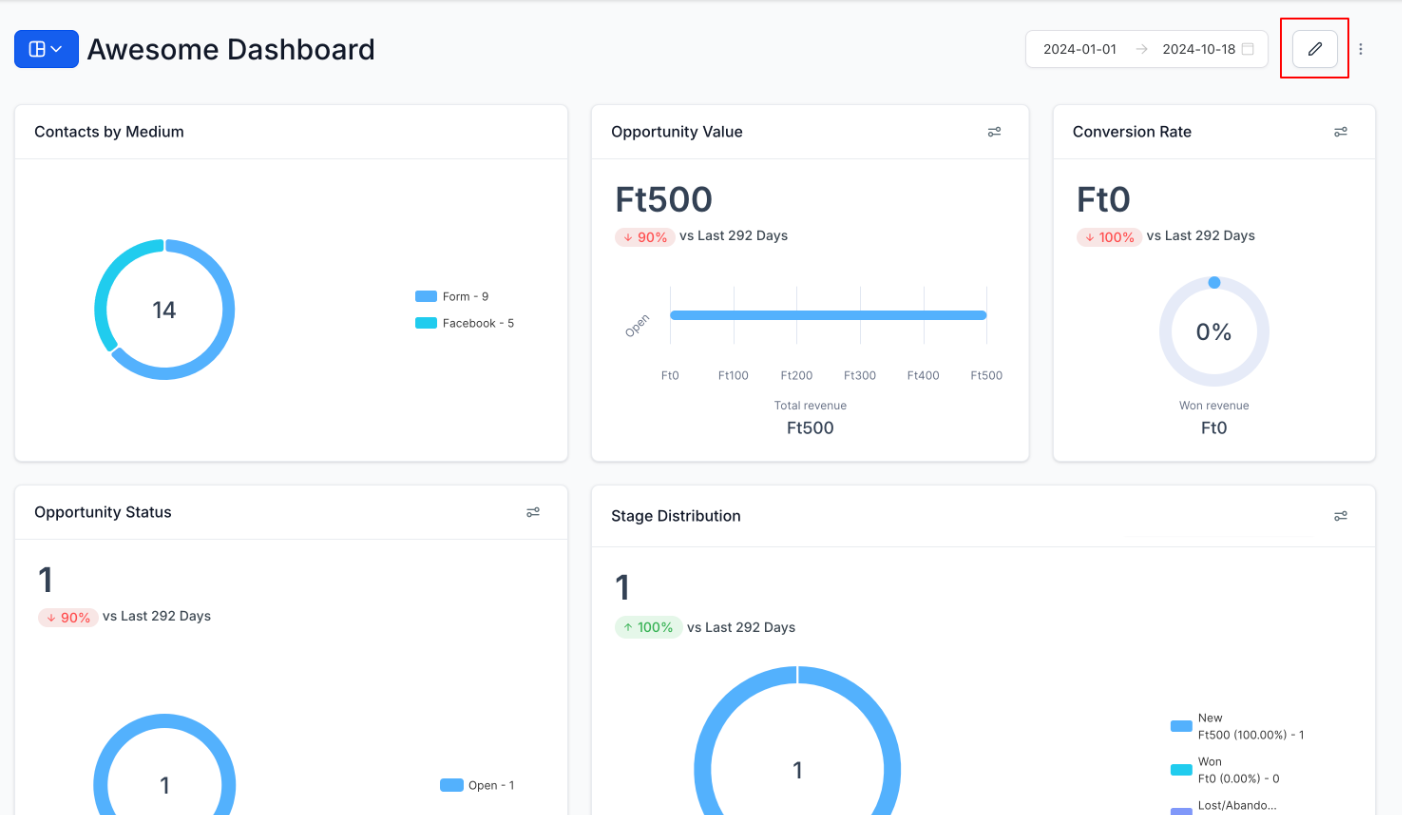
Step 1: Open Your Dashboard
- Access the dashboard you’d like to personalise.
Step 2: Enter Edit Mode
- Click the Pencil icon located in the top-right corner to enable edit mode.
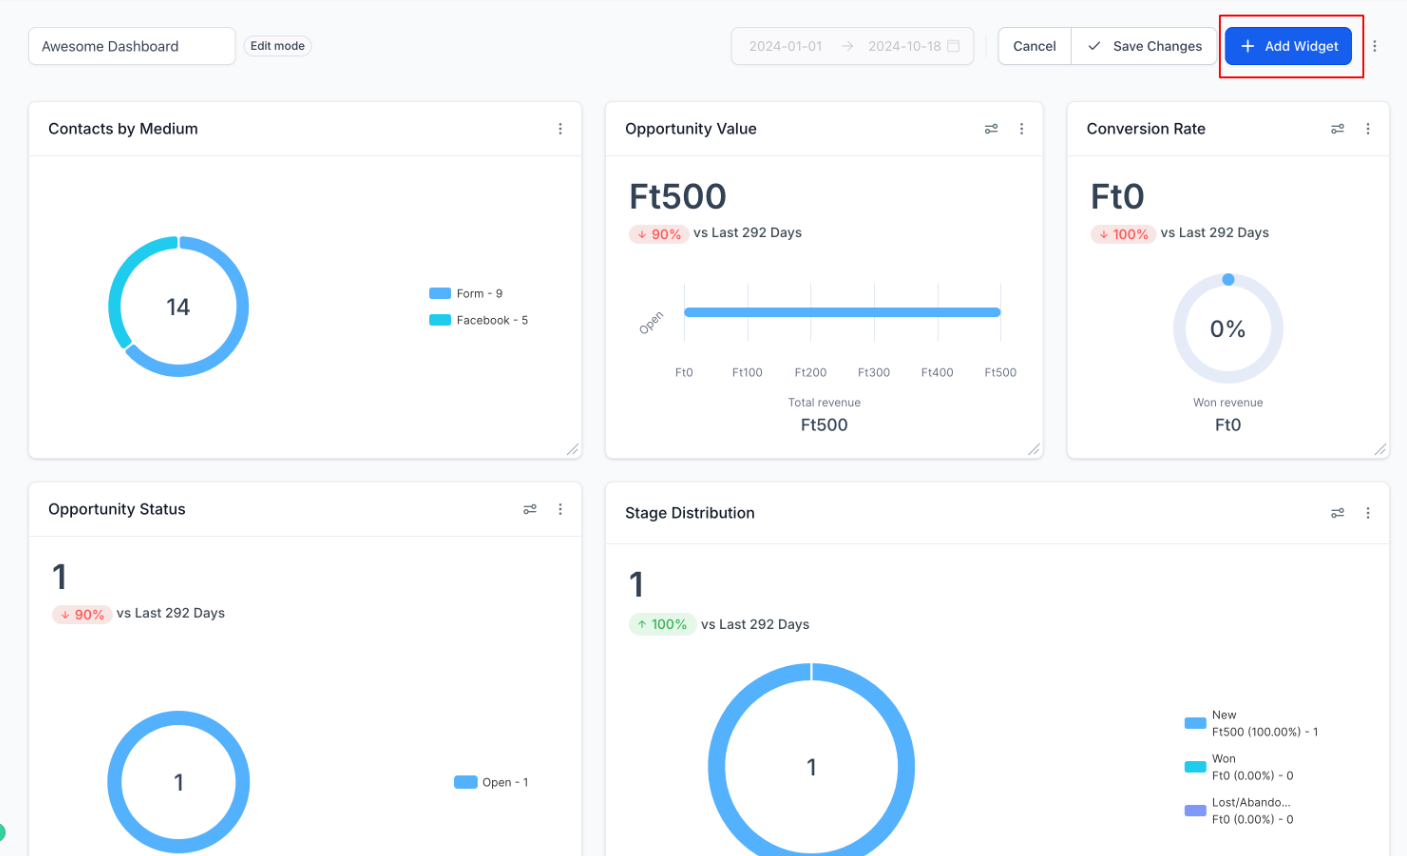
- Once in edit mode, you can also add widgets by selecting “Add Widget.”
Step 3: Access the Themes Section
- On the sidebar that appears, click on the “Themes” tab to access available customisation options.
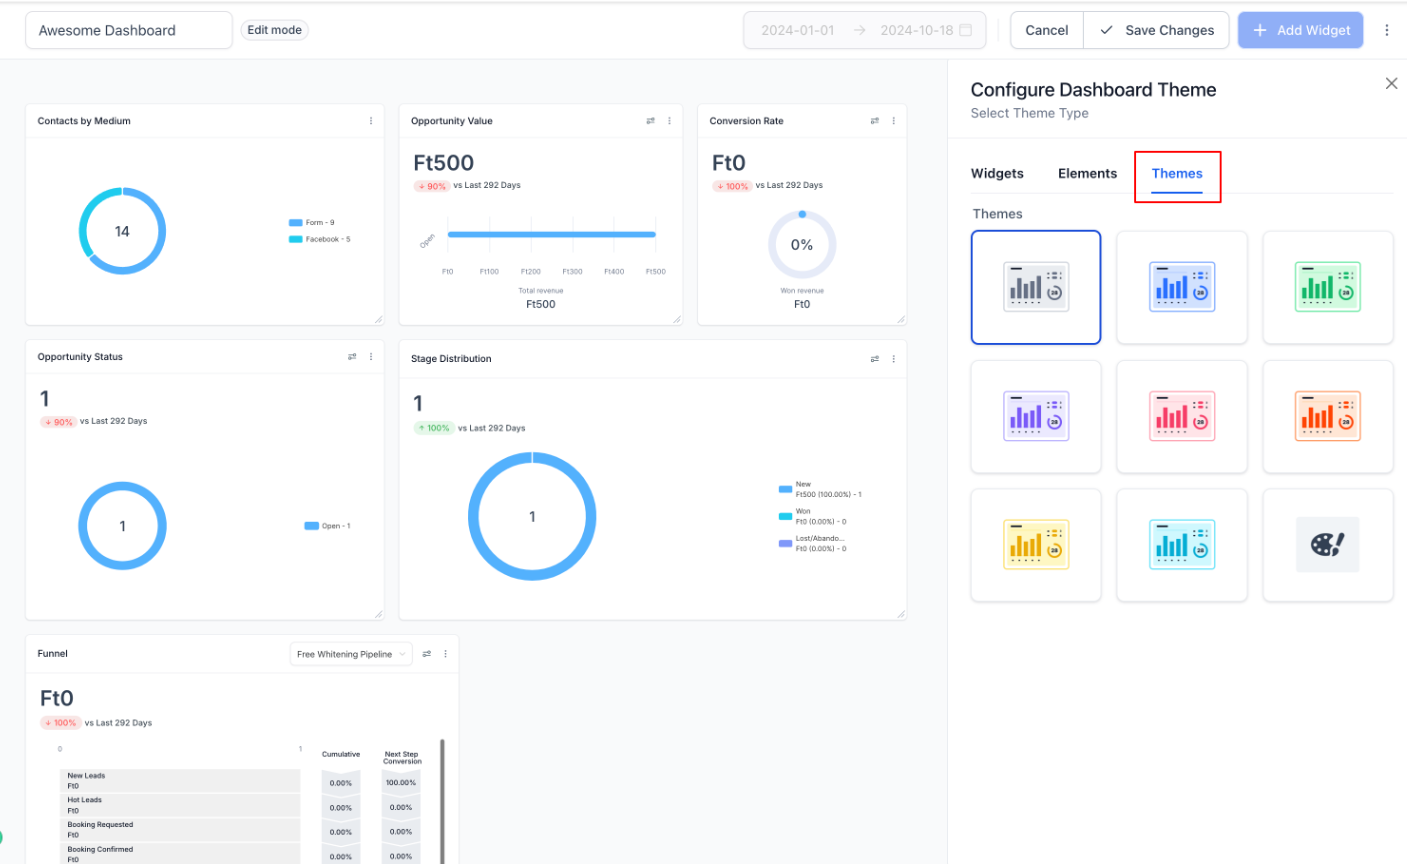
Step 4: Choose or Create a Theme
- Select a Predefined Theme: Browse through the list of predefined themes and select one that matches your preferences.
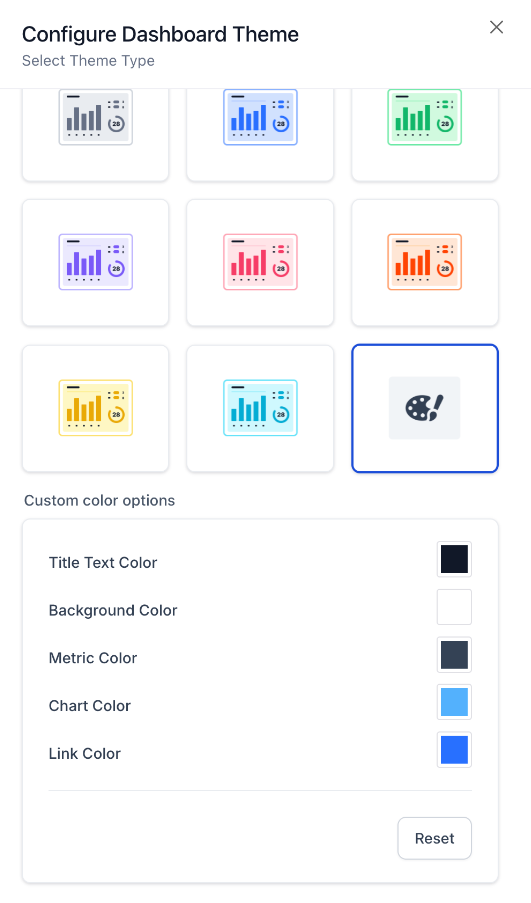
- Create a Custom Theme:
- Adjust background colours, text colours, and widget styles.
- Preview changes in real time to ensure the theme meets your expectations.
Step 5: Save Your Changes
- After finalizing your selection or customisations, click “Save” to apply the theme to your dashboard.
Step 6: Customise Widget Themes (Optional)
- You can personalise individual widgets by entering edit mode for the specific widget. In the sidebar, navigate to the theme section and adjust the settings to align with your dashboard’s design.
Pro Tips for Better Customisation
- Consistency is Key: Use consistent colours and styles across the dashboard to maintain a professional appearance.
- Brand Colours: Incorporate your brand colours for better alignment with your business identity.
- Test Visibility: Ensure that text and widget details are clearly visible against your chosen background colour.
- Preview Changes: Always preview your dashboard before saving changes to confirm everything looks cohesive.
- Experiment with Widgets: Don’t hesitate to explore widget-specific themes to highlight important data or features.
FAQs
1. Can I switch back to the default theme after applying a custom one?
Yes, you can always revert to the default theme by selecting it from the predefined themes list.
2. Are there limits to how many custom themes I can create?
There is no limit—you can create as many custom themes as needed to suit different dashboards or preferences.
3. Can I customize themes for specific users?
Currently, themes apply to the dashboard overall, but individual user preferences may vary depending on their access levels.
4. How do I ensure widget themes match the overall dashboard design?
When editing widget themes, use the same colour scheme and font styles as the main dashboard theme to maintain consistency.
5. Will these customisations affect the performance of my dashboard?
No, visual customisations do not impact dashboard performance. They are designed to enhance appearance without compromising functionality.
